Garlic Parmesan Baked Tilapia
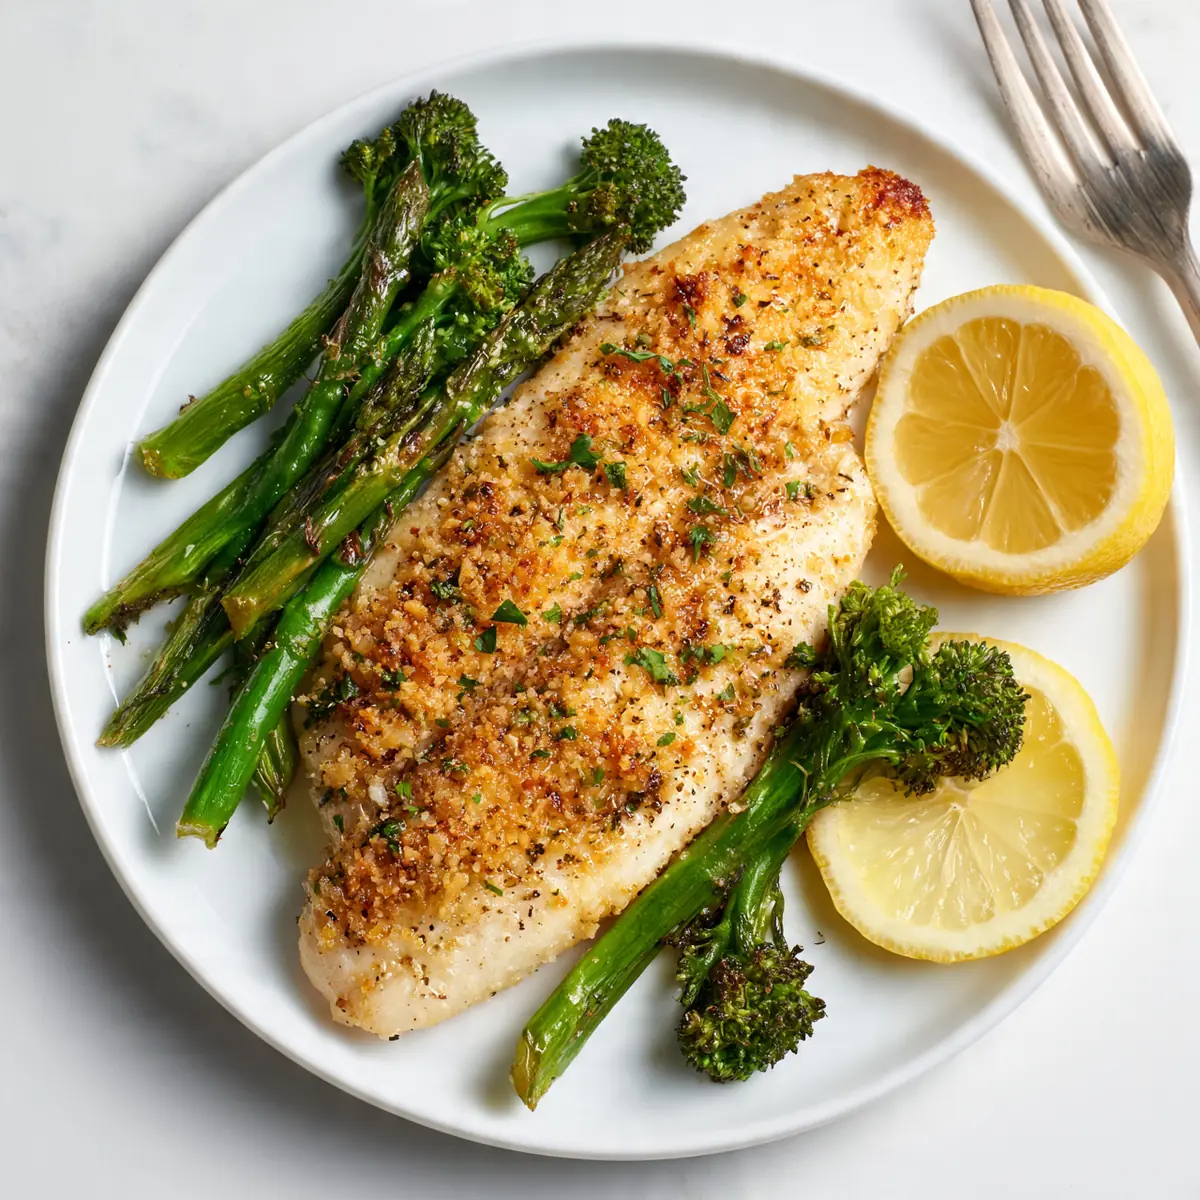
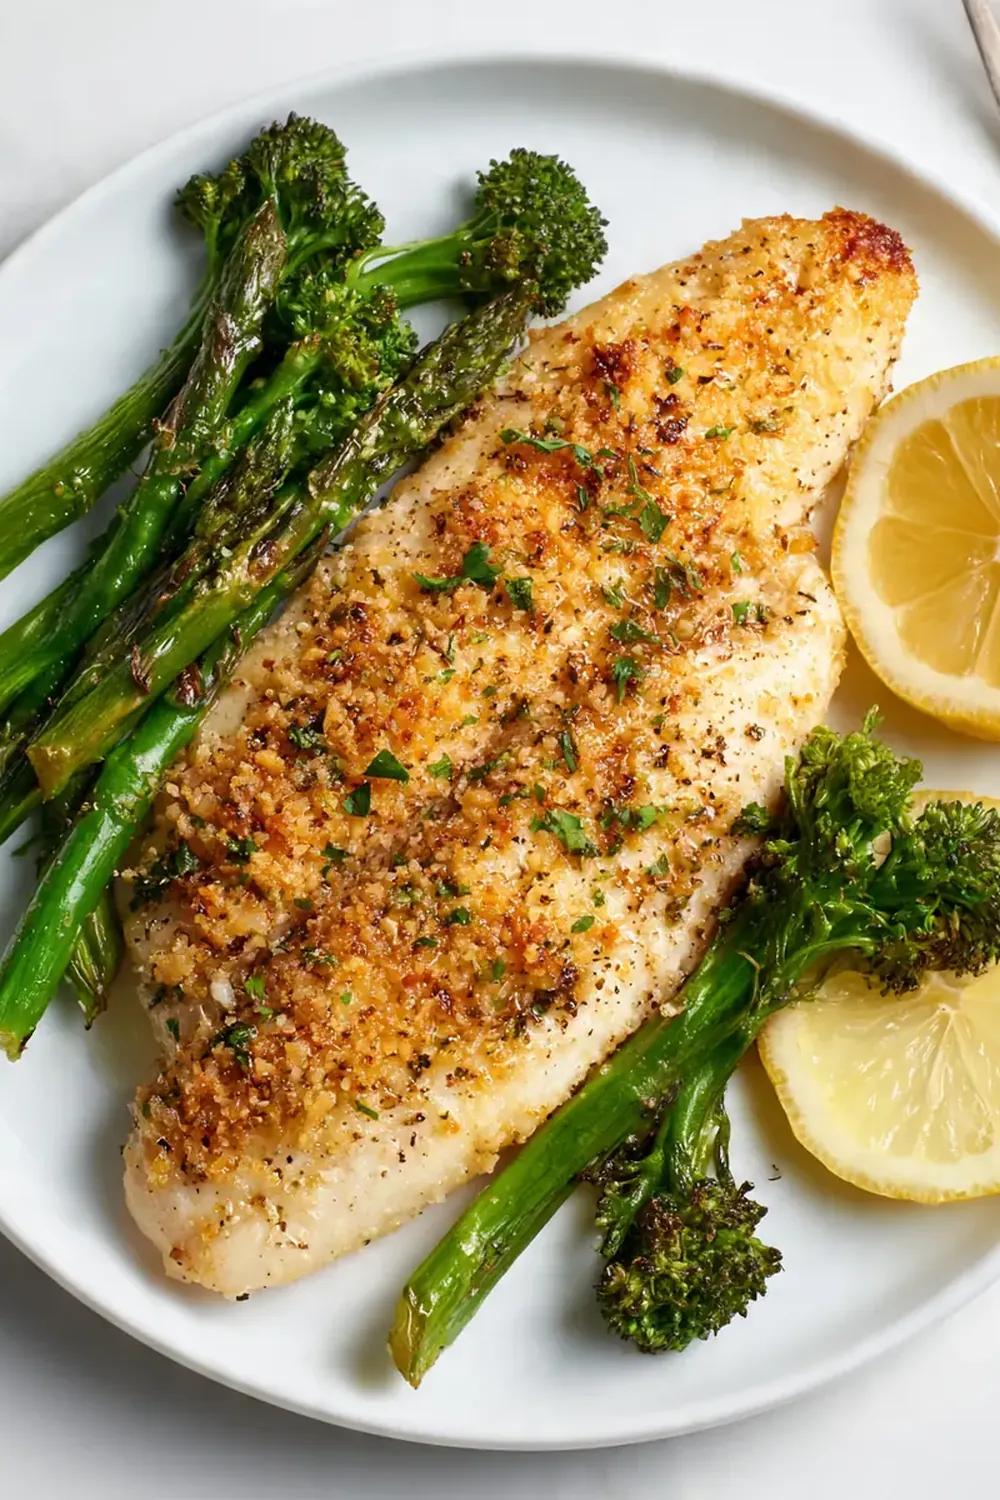
Welcome to my kitchen! If you’re looking for a baked fish dish that’s effortlessly elegant yet wonderfully simple, you’ve found it. This Garlic Parmesan Baked Tilapia has become a regular in my home, transforming a humble fillet into something truly special with a golden, cheesy crust.
Recipe Overview
- Prep Time: 10 minutes
- Cook Time: 15-18 minutes
- Total Time: 25-28 minutes
- Servings: 4 fillets
- Difficulty: Easy
Why You’ll Love This Garlic Parmesan Baked Tilapia
- It comes together in under 30 minutes, making it a brilliant weeknight dinner solution, while our Slow Cooker Chicken Alfredo Casserole The Ultimate Busy Night Dinner takes a bit longer but is just as effortless.nainaskitchen.com/easy-slow-cooker-creamy-chicken-chowder-for-busy-nights/”>Easy Slow Cooker Creamy Chicken Chowder for Busy Nights takes a bit longer but is just as effortless.nainaskitchen.com/easy-weeknight-crockpot-orange-chicken-thighs/”>Easy Weeknight Crockpot Orange Chicken Thighs takes a bit longer but is just as effortless.
- The combination of nutty Parmesan, aromatic garlic, and buttery breadcrumbs creates an irresistible, crispy topping.
- Tilapia is a mild, flaky white fish that cooks quickly and absorbs flavour beautifully.
- It’s a healthy, protein-packed meal that doesn’t feel like a compromise on taste.
- My kids absolutely devour this every time I make it, and it’s one of the few fish dishes my husband, who’s usually picky, asked for seconds!
Ingredients You’ll Need
- 4 tilapia fillets (about 150-175g each)
- 100g finely grated Parmesan cheese
- 60g panko breadcrumbs (or plain breadcrumbs)
- 3 cloves garlic, minced
- 60g unsalted butter, melted
- 2 tablespoons fresh lemon juice
- 1 teaspoon dried oregano
- ½ teaspoon salt
- ¼ teaspoon black pepper
- 2 tablespoons chopped fresh parsley (for garnish)
- Lemon wedges (for serving)
Tip: For the best flavour, buy a block of Parmesan and grate it yourself. Pre-grated cheese often contains anti-caking agents that prevent it from melting as smoothly and creating that perfect golden crust.
How to Make Garlic Parmesan Baked Tilapia
- Preheat your oven to 200°C (400°F). Line a 9×13 inch baking dish with aluminium foil, leaving a little overhang for easy cleanup, and lightly spray it with cooking oil. This ensures the fish won’t stick and makes washing up a breeze.
- Pat the tilapia fillets dry with kitchen paper. This step is crucial for a good sear and a crispy topping, as any excess moisture will steam the fish. Season both sides evenly with the salt and black pepper. You’ll notice the fillets look slightly glossy after patting them dry.
- In a medium mixing bowl, combine the finely grated Parmesan, panko breadcrumbs, minced garlic, dried oregano, and melted butter. Stir until the mixture looks like a coarse, golden, slightly damp sand. The smell of the garlic and melted butter mingling is absolutely divine.
- Place the seasoned tilapia fillets in the prepared baking dish, making sure they aren’t overlapping. Evenly spoon and press the Parmesan breadcrumb mixture onto the top of each fillet, covering the surface completely. Use your fingers to gently pack it down so it adheres well.
- Bake in the preheated oven for 15-18 minutes. You’ll know it’s done when the topping is a deep, fragrant golden brown and the fish flakes easily with a fork. The edges of the fillet will look opaque and the flesh will have turned from translucent to a pure, snowy white.
- Remove the dish from the oven and let it rest for 2-3 minutes. This resting period allows the juices to redistribute, keeping the fish moist. Garnish with fresh chopped parsley and serve immediately with lemon wedges for a bright, zesty finish.
Tips From My Kitchen
- Pat the fish bone-dry: This is the single most important step. Moisture is the enemy of a crispy crust. If the fillets are wet, the topping will become soggy and the fish will steam rather than bake. Use a clean tea towel or several sheets of kitchen paper to really get them dry.
- Don’t skimp on the Parmesan: Finely grating the cheese yourself ensures it melts evenly into the breadcrumbs, creating a cohesive, crunchy crust. Pre-shredded cheese has a coating that can make the topping grainy instead of smooth and golden.
- Adjust cook time based on thickness: Not all tilapia fillets are the same thickness. A thin fillet might be done in 12 minutes, while a thick one could take 18. The best way to check is the flake test: insert a fork into the thickest part and twist gently. If it flakes easily and is opaque, it’s ready.
- Use a hot oven: Baking at 200°C (400°F) is the sweet spot. It’s hot enough to brown the topping beautifully and cook the fish quickly, but not so hot that the crust burns before the fish is cooked through. A moderate oven will result in a pale, soft topping.
- Let the fish rest: This brief rest after baking is often overlooked but it makes a real difference. As the fish rests, the carry-over cooking finishes the process gently, and the juices that have been forced to the surface redistribute back into the flesh, ensuring every bite is moist and tender, not dry.
Equipment You’ll Need
- 9×13 inch baking dish
- Aluminium foil
- Mixing bowls
- Sharp knife
Common Mistakes to Avoid
- Overcrowding the pan: If you crowd the fillets, they will steam rather than bake. This prevents the topping from crisping up and the fish from developing any colour. Always leave a little space between each fillet for hot air to circulate. If necessary, use two baking dishes.
- Wrong temperature: Baking at too low a temperature will dry out the fish before the crust has a chance to brown. Conversely, an oven that’s too hot will burn the breadcrumb topping while the fish remains undercooked. A consistent 200°C (400°F) is your target.
- Skipping the rest time: Slicing into the fish immediately after it comes out of the oven will cause all its precious juices to run out onto the plate, leaving you with a dry fillet. That 2-3 minute rest is not just a suggestion; it’s a crucial step for a moist, flaky result.
Delicious Variations to Try
- Spicy Version: Add ½ teaspoon of red pepper flakes or a pinch of cayenne pepper to the breadcrumb mixture. For an extra kick, you can also drizzle a little sriracha or your favourite hot sauce over the fish before adding the topping.
- Vegetarian/Vegan Option: This recipe works wonderfully with thick slices of firm tofu or large portobello mushroom caps. For a vegan version, replace the Parmesan with a high-quality vegan Parmesan alternative and use melted coconut oil or a plant-based butter substitute.
- Different Protein: This garlic parmesan crust is incredibly versatile. It pairs beautifully with other firm white fish like cod, haddock, or halibut. You can also use it on chicken breasts or even salmon fillets—just adjust the cooking time accordingly. For a similar technique on a different fish, you might enjoy our Pan Seared Salmon With Lemon Butter Sauce.
What to Serve With Garlic Parmesan Baked Tilapia
This dish is wonderfully balanced and pairs well with a variety of sides. Here are a few of my favourite accompaniments:
- A light, crisp salad, like our Classic Wedge Salad With Ranch, provides a refreshing contrast to the rich, cheesy fish.
- Steamed green beans or asparagus tossed in a little lemon butter are a classic, vibrant choice.
- For a more substantial meal, serve it over a bed of fluffy white rice, quinoa, or alongside roasted new potatoes.
- If you’re looking for another healthy and flavour-packed meal, try the Healthy Baked Chicken Shawarma Wraps next time you’re in the mood for something different.
Frequently Asked Questions
Garlic Parmesan Baked Tilapia
Ingredients
Method
- Preheat your oven to 200°C (400°F). Line a 9×13 inch baking dish with aluminium foil, leaving a little overhang for easy cleanup, and lightly spray it with cooking oil. This ensures the fish won’t stick and makes washing up a breeze.
- Pat the tilapia fillets dry with kitchen paper. This step is crucial for a good sear and a crispy topping, as any excess moisture will steam the fish. Season both sides evenly with the salt and black pepper. You’ll notice the fillets look slightly glossy after patting them dry.
- In a medium mixing bowl, combine the finely grated Parmesan, panko breadcrumbs, minced garlic, dried oregano, and melted butter. Stir until the mixture looks like a coarse, golden, slightly damp sand. The smell of the garlic and melted butter mingling is absolutely divine.
- Place the seasoned tilapia fillets in the prepared baking dish, making sure they aren’t overlapping. Evenly spoon and press the Parmesan breadcrumb mixture onto the top of each fillet, covering the surface completely. Use your fingers to gently pack it down so it adheres well.
- Bake in the preheated oven for 15-18 minutes. You’ll know it’s done when the topping is a deep, fragrant golden brown and the fish flakes easily with a fork. The edges of the fillet will look opaque and the flesh will have turned from translucent to a pure, snowy white.
- Remove the dish from the oven and let it rest for 2-3 minutes. This resting period allows the juices to redistribute, keeping the fish moist. Garnish with fresh chopped parsley and serve immediately with lemon wedges for a bright, zesty finish.
Notes
I hope this Garlic Parmesan Baked Tilapia becomes a beloved favourite in your kitchen, just as it is in mine. It’s a simple, reliable dish that delivers on flavour every single time. Have you tried this recipe? I’d love to hear how it turned out for you, or if you added your own twist. Please feel free to share your experience and any questions in the comments below!