Crispy Beef Spring Rolls
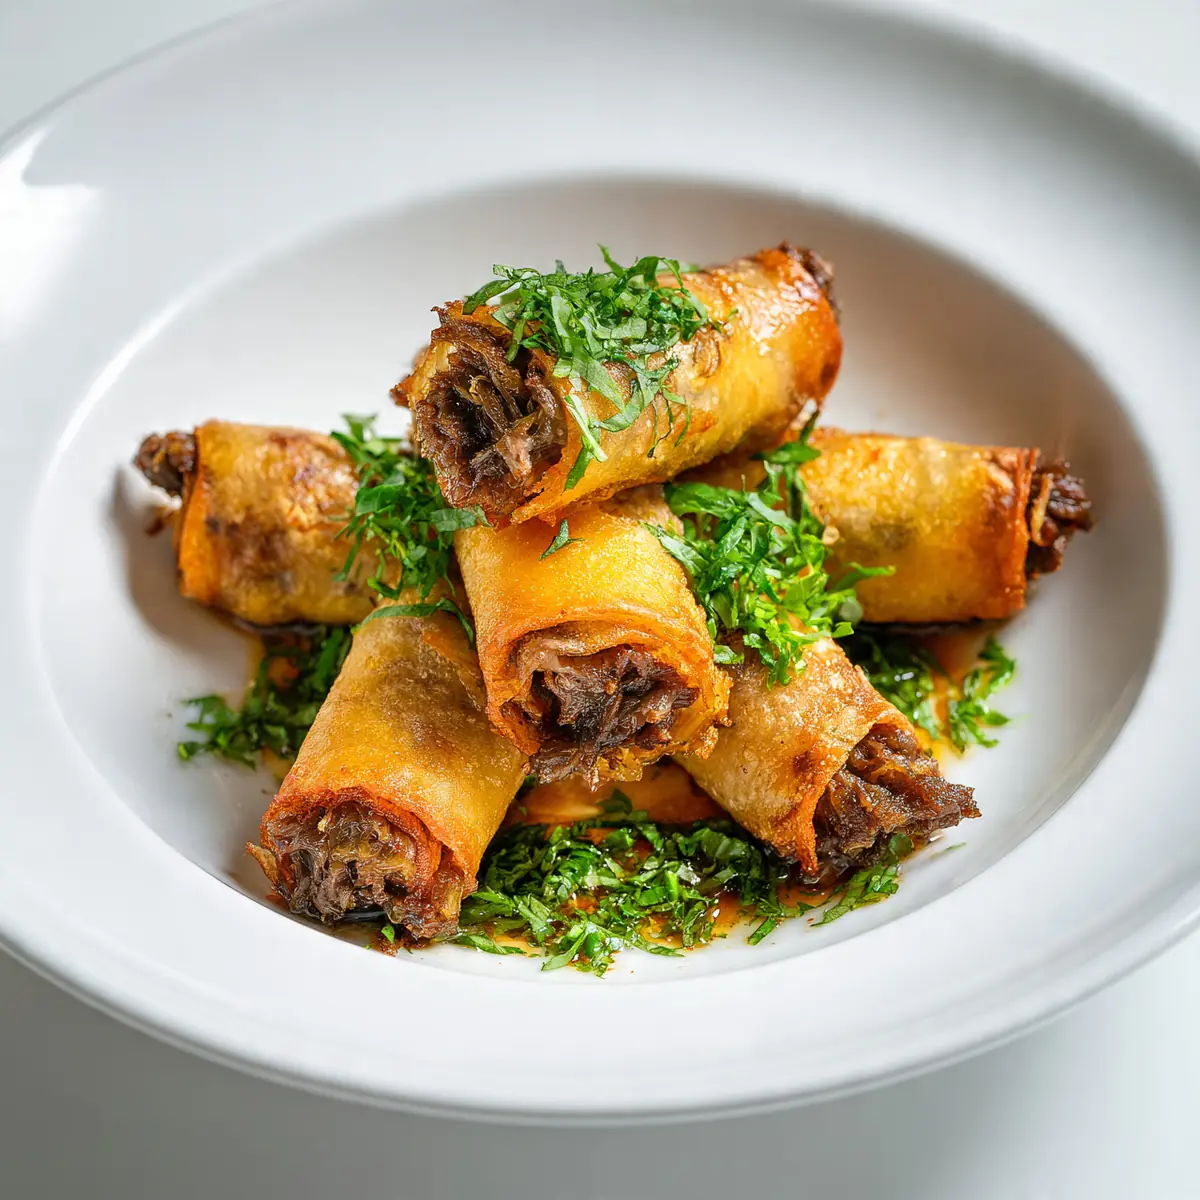
There’s something magical about the sound of a spring roll hitting hot oil, that immediate sizzle that promises a golden, shatteringly crisp exterior. I’ve spent years perfecting this recipe, tweaking the filling so it stays juicy without making the wrappers soggy. Friends always ask me for this recipe after trying it at dinner parties, and I’m thrilled to finally share all my secrets for achieving that perfect crunch at home.
Recipe Overview
- Prep Time: 30 minutes
- Cook Time: 20 minutes
- Total Time: 50 minutes
- Servings: Makes 20 spring rolls
- Difficulty: Medium
Why You’ll Love This Crispy Beef Spring Rolls
- Restaurant-quality crunch at home: The double-frying technique ensures an extra-crispy exterior that stays crisp for hours.
- Juicy, flavourful filling: Seasoned minced beef with crunchy vegetables creates the perfect balance of textures and savoury notes.
- Make-ahead friendly: You can assemble these rolls in advance and fry them just before serving, making entertaining effortless.
- Customisable heat level: From mild family-friendly to fiery, you control the spice with chilli options in the filling or dipping sauce.
- Freezer-friendly convenience: Uncooked spring rolls freeze beautifully, giving you a stash of homemade goodness for busy weeknights.
Ingredients You’ll Need
- 500g beef mince (20% fat recommended for flavour)
- 2 tablespoons vegetable oil, plus extra for deep frying
- 1 large onion, finely diced (about 200g)
- 3 cloves garlic, minced
- 1 tablespoon fresh ginger, grated
- 2 medium carrots, julienned or coarsely grated (about 150g)
- 150g cabbage, finely shredded
- 100g bean sprouts
- 2 tablespoons soy sauce
- 1 tablespoon oyster sauce
- 1 teaspoon sesame oil
- 1 teaspoon white pepper
- ½ teaspoon salt
- 20 spring roll wrappers (standard 20cm square size)
- 2 tablespoons plain flour mixed with 3 tablespoons water (for sealing)
Tip: Look for spring roll wrappers in the frozen section of Asian grocers. Thaw them overnight in the fridge, then bring to room temperature for 30 minutes before using — this prevents tearing when rolling.
How to Make Crispy Beef Spring Rolls
- Cook the beef filling: Heat 2 tablespoons of vegetable oil in a large frying pan over high heat until the oil shimmers and ripples. Add the beef mince, breaking it apart with a wooden spoon. Cook for 5-6 minutes, stirring occasionally, until the beef turns from pink to a deep brown and you hear a vigorous sizzle. The moisture should evaporate, leaving browned bits sticking to the pan — this is where the flavour lives.
- Sweat the aromatics: Reduce the heat to medium and add the diced onion. Stir for 3 minutes until the onion becomes translucent and releases a sweet, fragrant smell. Add the garlic and ginger, stirring constantly for 30 seconds until the kitchen fills with their warm, pungent aroma.
- Add the vegetables: Toss in the grated carrots, shredded cabbage, and bean sprouts. Stir-fry for 2-3 minutes until the cabbage wilts and turns a vibrant, brighter green. The vegetables should still have a slight crunch — they’ll continue cooking inside the spring rolls.
- Season the filling: Pour in the soy sauce, oyster sauce, sesame oil, white pepper, and salt. Stir thoroughly until everything is evenly coated and the mixture looks glossy. Cook for 1 more minute, then remove from heat. Transfer the filling to a wide, shallow bowl and spread it out to cool completely — this is crucial, as warm filling will steam the wrappers from the inside.
- Prepare the wrappers: Lay one spring roll wrapper on a clean, dry surface with a corner pointing toward you (diamond position). Have your flour paste and a pastry brush ready. Place about 2 tablespoons of the cooled filling in a log shape across the bottom third of the wrapper, leaving a 3cm border at the bottom corner.
- Roll the spring rolls: Fold the bottom corner tightly over the filling, then fold in the left and right corners toward the centre, pressing gently to seal. Roll upward firmly but not too tightly — you want the roll snug, but over-tightening can cause the wrapper to tear during frying. When you reach the top corner, brush the exposed edge with flour paste and roll to seal. The finished roll should feel firm and look like a neat, compact cylinder.
- First fry (the foundation): Heat at least 5cm of vegetable oil in a deep, heavy-bottomed pan to 160°C (320°F). Fry the spring rolls in batches of 5-6, being careful not to overcrowd. Cook for 4-5 minutes, turning occasionally, until they’re pale golden and the wrapper looks set and firm. The oil will bubble vigorously, and the rolls will feel light and rigid. Drain on paper towels and let them rest for 10 minutes — this step ensures the interior stays fluffy while the exterior dries out.
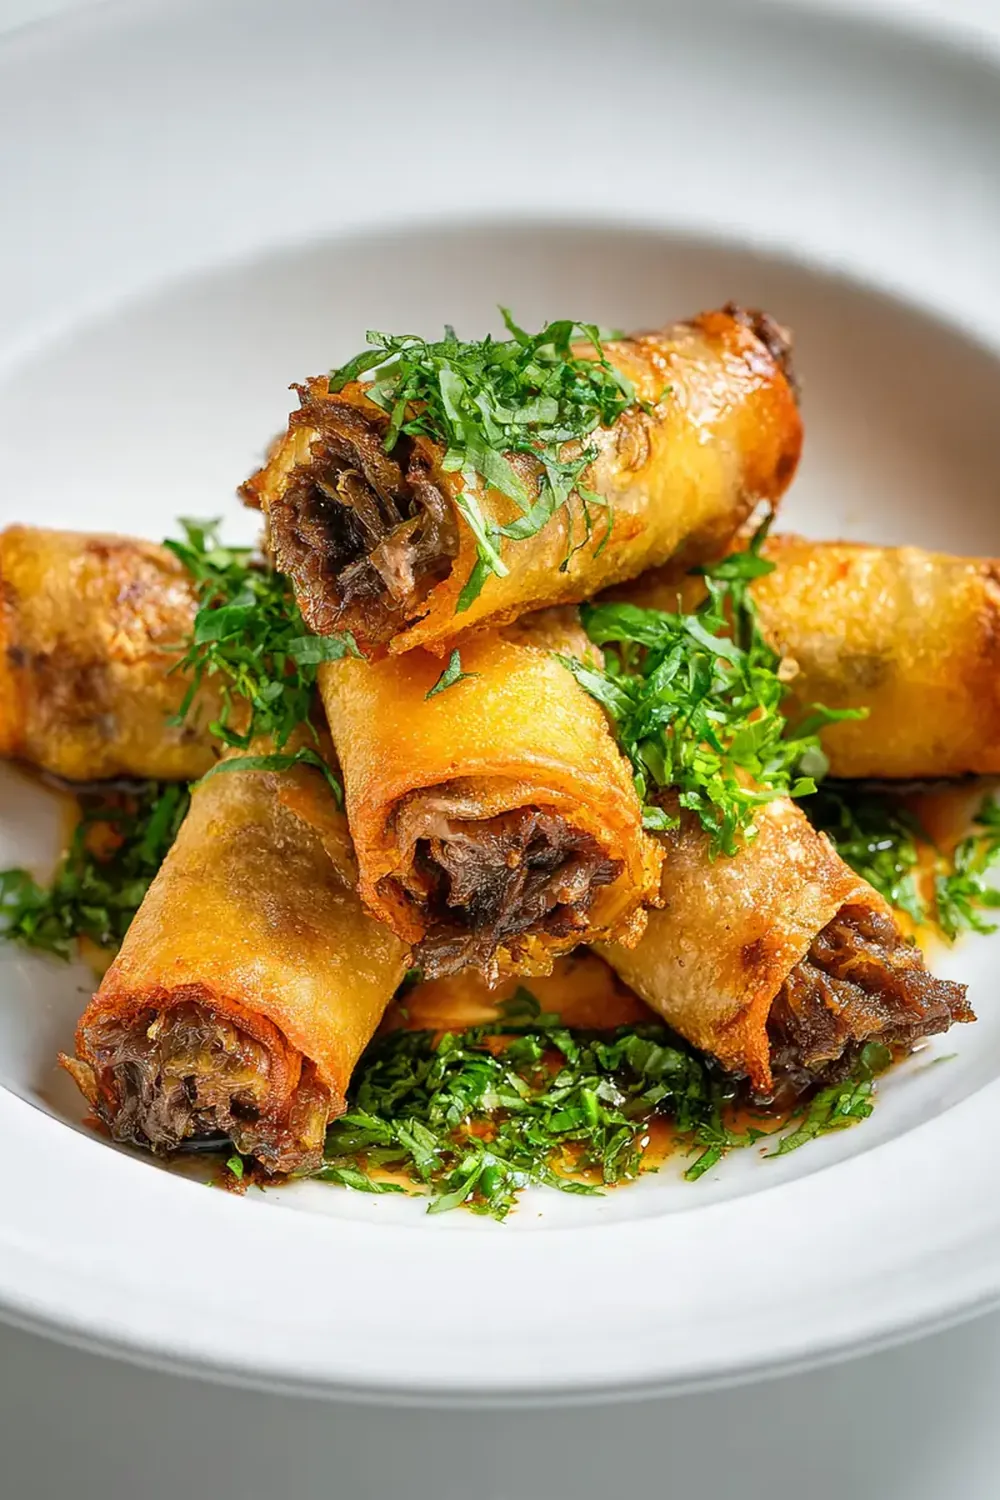
- Second fry (the crunch): Increase the oil temperature to 190°C (375°F). Return the spring rolls to the oil in the same batches and fry for 2-3 minutes. Watch as they transform: the pale golden colour deepens to a rich amber brown, the surface becomes textured and bubbled, and the sizzling sound becomes sharper and more rapid. When they float to the surface and look beautifully bronzed, they’re ready. Drain on fresh paper towels and sprinkle lightly with salt while still hot.
Tips From My Kitchen
- Cool the filling completely before rolling: This is the single most important step for crispy spring rolls. Warm filling releases steam inside the wrapper as it cools, making the wrapper soggy before it ever hits the oil. I spread my filling on a baking tray and pop it in the fridge for 15 minutes to speed things up. The filling should feel cool to the touch when you’re ready to roll.
- Don’t overfill the wrappers: It’s tempting to pack in as much filling as possible, but overstuffed spring rolls are prone to bursting during frying. Use roughly 2 level tablespoons per roll — about the size of a walnut. The wrapper needs room to crimp and seal properly, and a thinner filling layer means the heat penetrates evenly, cooking the interior without burning the exterior.
- Master the oil temperature with a thermometer: I never fry without a kitchen thermometer. If the oil is too cool, the wrappers absorb oil and become greasy rather than crisp. If it’s too hot, the outside burns before the inside is cooked. For the first fry, 160°C ensures the interior cooks through gently. The second fry at 190°C creates that explosive crunch by rapidly vaporising any remaining moisture on the wrapper’s surface.
- Roll tight, but not too tight: When rolling, apply gentle, even pressure with your fingertips. Too loose, and the filling shifts, creating air pockets that cause the roll to split. Too tight, and the wrapper stretches thin and tears. The perfect roll is one where you can feel the wrapper hugging the filling snugly, with no gaps or bulges. Practice on a few — you’ll quickly develop the right touch.
- Rest between the two fries: That 10-minute rest between the first and second fry is not optional — it’s the secret to that long-lasting crispness. During this rest, moisture from the filling migrates outward and evaporates, while the first fry’s crust dries and hardens. The second fry then seals this dry layer, creating a barrier that stays crunchy for hours. My kids absolutely devour this every time I make it, and I’ve tested this method countless times to confirm it works.
- Freeze for future meals: To freeze, place uncooked spring rolls on a baking tray lined with baking paper, ensuring they don’t touch. Freeze for 2 hours until solid, then transfer to a freezer bag. Fry directly from frozen, adding 1-2 minutes to the first fry time. This is my secret weapon for last-minute appetisers that taste freshly made.
Equipment You’ll Need
- Large frying pan or skillet
- Sharp knife and cutting board
- Mixing bowls
- Wooden spoon or spatula
- Deep, heavy-bottomed pan or wok for deep frying
- Kitchen thermometer
- Slotted spoon or spider strainer
- Pastry brush
- Baking tray lined with paper towels
Delicious Variations to Try
- Spicy Version: Add 1-2 finely chopped fresh red chillies to the filling along with the garlic and ginger. For extra heat, stir in 1 teaspoon of chilli oil or sambal oelek just before removing the filling from the heat. Serve with a sriracha mayonnaise dipping sauce for those who love serious heat.
- Vegetarian/Vegan Option: Replace the beef mince with 300g of finely chopped mushrooms (shiitake and oyster mushrooms work beautifully) and 200g of crumbled firm tofu. Increase the soy sauce to 3 tablespoons and add 1 tablespoon of hoisin sauce for depth. The mushrooms provide a meaty, umami-rich texture that satisfies even dedicated carnivores.
- Different Protein: Swap the beef for an equal weight of minced chicken or turkey for a lighter filling. If using chicken, add an extra tablespoon of oyster sauce to compensate for the lower fat content, which helps keep the filling moist. For a heartier option, try minced lamb with a teaspoon of ground cumin and coriander for a Middle Eastern twist.
What to Serve With Crispy Beef Spring Rolls
- Classic sweet chilli sauce for dipping
- A simple dipping sauce made from 3 tablespoons soy sauce, 1 tablespoon rice vinegar, 1 teaspoon sesame oil, and a pinch of sugar
- A fresh green salad with a zesty lime dressing to cut through the richness
- Steamed jasmine rice or coconut rice for a complete meal
Frequently Asked Questions
Crispy Beef Spring Rolls
Ingredients
Method
- Cook the beef filling: Heat 2 tablespoons of vegetable oil in a large frying pan over high heat until the oil shimmers and ripples. Add the beef mince, breaking it apart with a wooden spoon. Cook for 5-6 minutes, stirring occasionally, until the beef turns from pink to a deep brown and you hear a vigorous sizzle. The moisture should evaporate, leaving browned bits sticking to the pan — this is where the flavour lives.
- Sweat the aromatics: Reduce the heat to medium and add the diced onion. Stir for 3 minutes until the onion becomes translucent and releases a sweet, fragrant smell. Add the garlic and ginger, stirring constantly for 30 seconds until the kitchen fills with their warm, pungent aroma.
- Add the vegetables: Toss in the grated carrots, shredded cabbage, and bean sprouts. Stir-fry for 2-3 minutes until the cabbage wilts and turns a vibrant, brighter green. The vegetables should still have a slight crunch — they'll continue cooking inside the spring rolls.
- Season the filling: Pour in the soy sauce, oyster sauce, sesame oil, white pepper, and salt. Stir thoroughly until everything is evenly coated and the mixture looks glossy. Cook for 1 more minute, then remove from heat. Transfer the filling to a wide, shallow bowl and spread it out to cool completely — this is crucial, as warm filling will steam the wrappers from the inside.
- Prepare the wrappers: Lay one spring roll wrapper on a clean, dry surface with a corner pointing toward you (diamond position). Have your flour paste and a pastry brush ready. Place about 2 tablespoons of the cooled filling in a log shape across the bottom third of the wrapper, leaving a 3cm border at the bottom corner.
- Roll the spring rolls: Fold the bottom corner tightly over the filling, then fold in the left and right corners toward the centre, pressing gently to seal. Roll upward firmly but not too tightly — you want the roll snug, but over-tightening can cause the wrapper to tear during frying. When you reach the top corner, brush the exposed edge with flour paste and roll to seal. The finished roll should feel firm and look like a neat, compact cylinder.
- First fry (the foundation): Heat at least 5cm of vegetable oil in a deep, heavy-bottomed pan to 160°C (320°F). Fry the spring rolls in batches of 5-6, being careful not to overcrowd. Cook for 4-5 minutes, turning occasionally, until they're pale golden and the wrapper looks set and firm. The oil will bubble vigorously, and the rolls will feel light and rigid. Drain on paper towels and let them rest for 10 minutes — this step ensures the interior stays fluffy while the exterior dries out.
- Second fry (the crunch): Increase the oil temperature to 190°C (375°F). Return the spring rolls to the oil in the same batches and fry for 2-3 minutes. Watch as they transform: the pale golden colour deepens to a rich amber brown, the surface becomes textured and bubbled, and the sizzling sound becomes sharper and more rapid. When they float to the surface and look beautifully bronzed, they're ready. Drain on fresh paper towels and sprinkle lightly with salt while still hot.
Notes
I hope this guide helps you create the crispiest, most delicious beef spring rolls in your own kitchen. If you try them, I’d love to hear how they turned out — drop a comment below with your experience or any twists you added. And if you’re looking for another fantastic meal idea, do check out my Healthy Baked Chicken Shawarma Wraps for a lighter take on wrapped goodness. Happy cooking!