Honey Lemon Chicken (Quick Skillet)
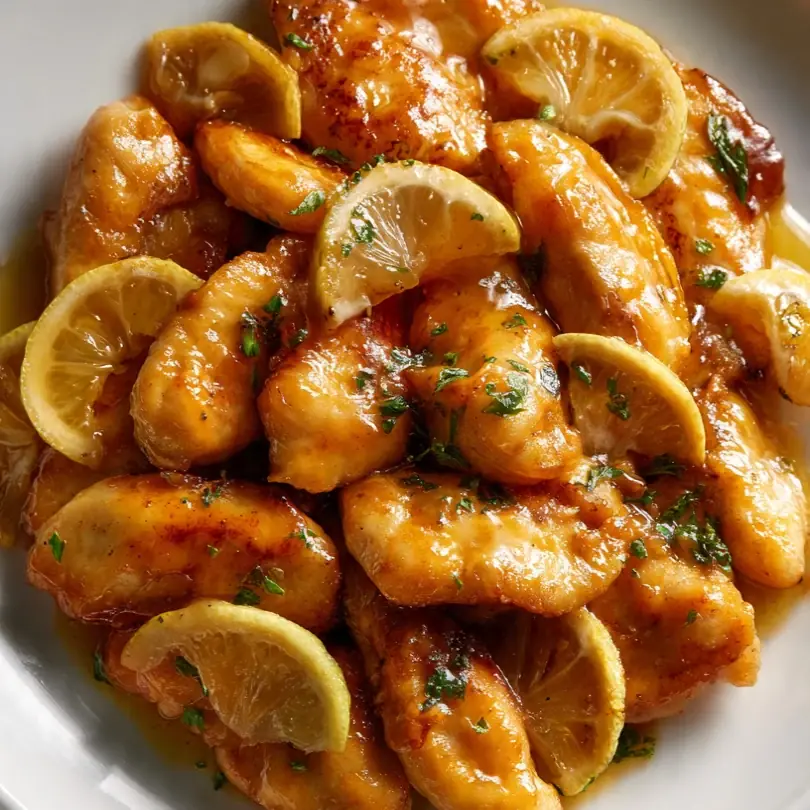
Some recipes become staples because they save a busy evening; others earn their place because they taste like proper cooking, not rushed compromise. This Honey Lemon Chicken (Quick Skillet) does both, and I stumbled upon this combination by accident, and it’s been a hit ever since. It delivers glossy, tender chicken with a sauce that balances bright citrus and gentle sweetness, all from one pan and in under thirty minutes.
Recipe Overview
- Prep Time: 10 minutes
- Cook Time: 15 minutes
- Total Time: 25 minutes
- Servings: 4
- Difficulty: Easy
Why You’ll Love This Honey Lemon Chicken (Quick Skillet)
- One-pan cooking: Less washing up, more time to relax.
- Balanced flavour: The honey mellows the lemon’s sharpness, creating a sauce that clings to every piece of chicken.
- Weeknight-friendly timing: From chopping to serving in about twenty-five minutes.
- Pantry-friendly ingredients: Most items are likely already in your kitchen.
- Adaptable protein: Works beautifully with chicken thighs, breasts, or even turkey steaks.
Ingredients You’ll Need
- 600g boneless, skinless chicken thighs (or breasts, sliced in half horizontally)
- 2 tablespoons plain flour (all-purpose)
- ½ teaspoon salt
- ¼ teaspoon black pepper
- 2 tablespoons olive oil
- 3 cloves garlic, finely minced
- 120ml chicken stock (from a cube or fresh)
- 3 tablespoons honey
- 2 tablespoons fresh lemon juice (about 1 lemon)
- 1 tablespoon lemon zest (from the same lemon)
- 1 tablespoon unsalted butter
- Fresh parsley, chopped, for garnish (optional)
Tip: Use a microplane or fine grater for the lemon zest — you want the fragrant oils, not the bitter white pith.
How to Make Honey Lemon Chicken (Quick Skillet)
- Prepare the chicken: Pat the chicken thighs dry with kitchen paper. In a shallow bowl, mix the flour, salt, and pepper. Dredge each piece of chicken in the seasoned flour, shaking off any excess. The chicken should look lightly dusted, not caked.
- Brown the chicken: Heat the olive oil in a large frying pan over medium-high heat. When the oil shimmers and a fleck of flour sizzles instantly, add the chicken pieces in a single layer (work in batches if needed). Cook for 4-5 minutes per side, until the chicken is a deep golden-brown colour and the edges look crisp. The sound should be a steady, happy sizzle — not a frantic spit.
- Sizzle the garlic: Reduce the heat to medium. Push the chicken to one side of the pan, add the minced garlic to the empty space, and stir for about 30 seconds. The garlic will become fragrant and soften; take care not to let it turn dark brown, as that brings bitterness.
- Build the sauce: Pour the chicken stock into the pan, using a wooden spoon to scrape up any browned bits from the bottom — those bits are pure flavour. Stir in the honey, lemon juice, and lemon zest. The mixture will look thin and slightly cloudy at this stage.
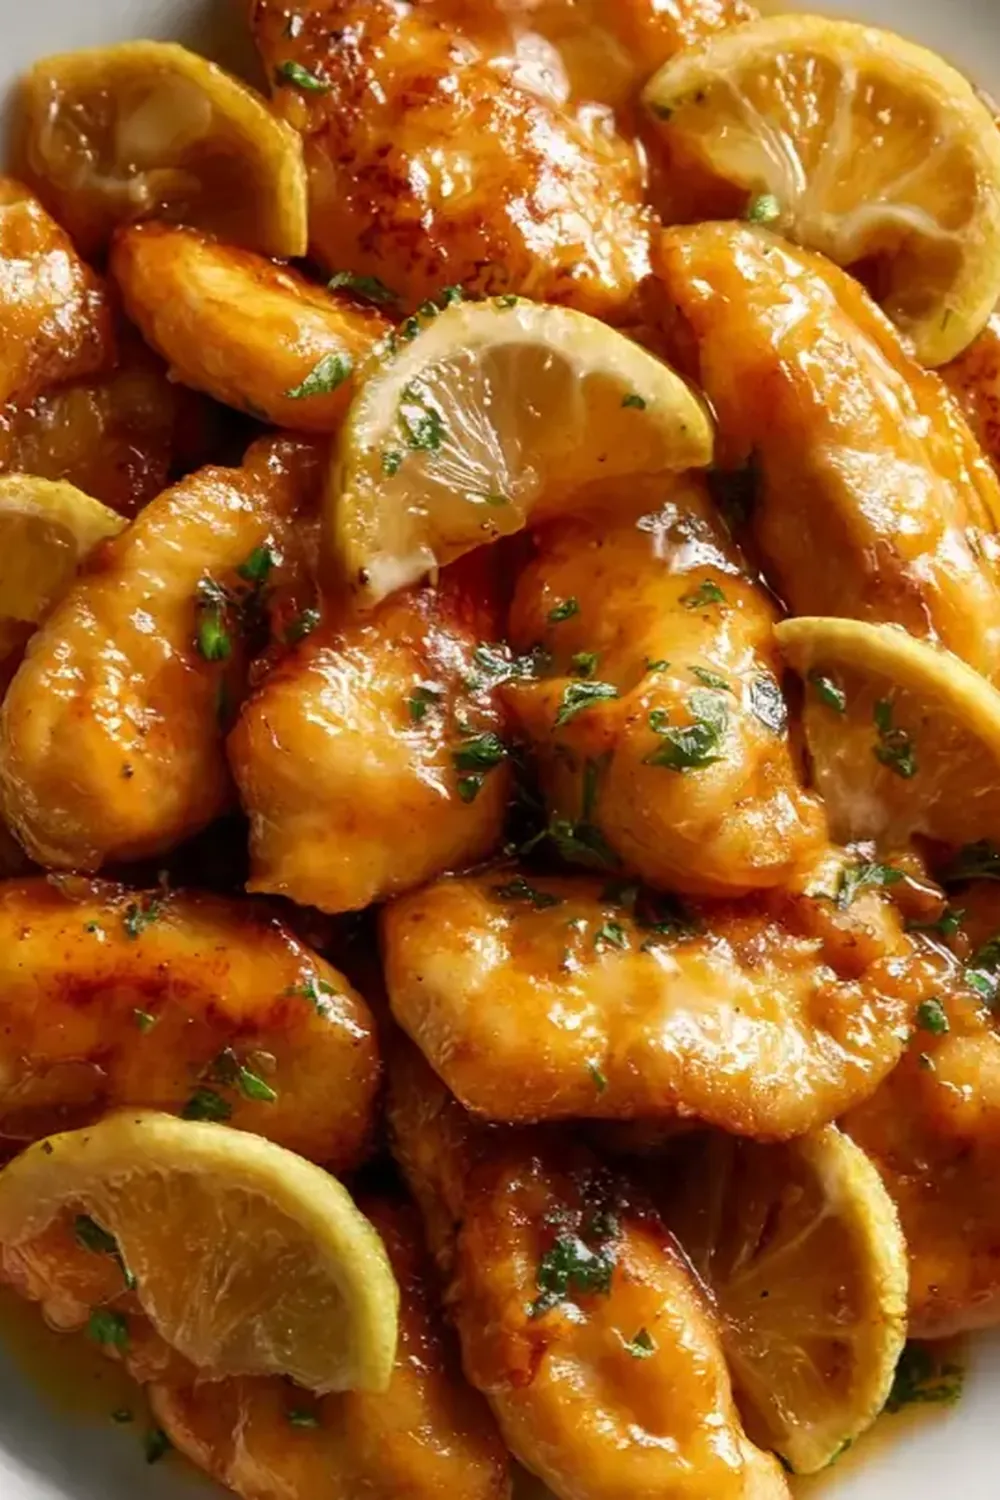
- Simmer and thicken: Bring the sauce to a gentle bubble, then reduce the heat to low. Let it simmer for 5-6 minutes, turning the chicken once halfway through. The sauce will reduce and turn from watery to a glossy, syrupy consistency that coats the back of a spoon. You’ll smell the honey caramelising and the lemon brightening the air.
- Finish with butter: Remove the pan from the heat. Add the butter and swirl the pan gently until it melts into the sauce, giving it a silky, polished sheen. Taste the sauce — if it needs more salt, add a pinch now.
- Rest and serve: Let the chicken rest in the pan for 2-3 minutes. This allows the juices to redistribute. Sprinkle with fresh parsley if using, and spoon the extra sauce over the top before serving.
Tips From My Kitchen
- Pat the chicken dry: Moisture is the enemy of browning. If the chicken is wet, it will steam rather than sear, and you’ll miss that deep golden crust that adds so much flavour. Take an extra thirty seconds to blot it thoroughly.
- Don’t skip the flour dredge: A light coating of flour does two things: it helps create a lovely brown crust, and it helps thicken the sauce later. The flour cooks off during browning, so there’s no raw taste left behind.
- Use fresh lemon juice: Bottled lemon juice has a flat, one-dimensional acidity. Freshly squeezed lemon juice brings brightness and a subtle floral note that makes the sauce sing. Roll the lemon on the counter before cutting to release more juice.
- Adjust honey to your taste: Some lemons are tarter than others. If your sauce tastes too sharp after simmering, add an extra teaspoon of honey and stir. If it’s too sweet, a tiny squeeze more lemon will balance it.
- Keep the heat moderate for the garlic: Garlic burns in seconds over high heat. Always add it after you’ve reduced the heat, and keep it moving in the pan. Burnt garlic tastes acrid and can ruin the whole dish.
Equipment You’ll Need
- Large frying pan or skillet (preferably non-stick or well-seasoned cast iron)
- Sharp knife and cutting board
- Mixing bowls (one shallow for the flour dredge)
- Wooden spoon or silicone spatula
- Microplane or fine grater for the lemon zest
- Measuring spoons and a liquid measuring jug
Common Mistakes to Avoid
- Overcrowding the pan: If you add too many chicken pieces at once, the temperature of the pan drops dramatically. The chicken will release moisture and start to steam instead of sear. Cook in two batches if necessary — it only adds a few extra minutes and makes a significant difference to the final colour and texture.
- Wrong temperature: Cooking over too low a heat means the chicken won’t brown properly, and the sauce will take longer to reduce, potentially making the chicken dry. Stick to medium-high for searing, then medium-low for simmering. If the sauce is bubbling furiously, turn it down — a gentle simmer is what you want.
- Skipping the rest time: Cutting into the chicken straight from the pan lets all the juices run out onto the plate, leaving the meat dry. A short rest of 2-3 minutes gives the juices time to settle back into the fibres, so every bite stays moist and tender.
Delicious Variations to Try
- Spicy Version: Add ½ teaspoon of red pepper flakes along with the garlic, or stir in 1 teaspoon of harissa paste with the stock. The heat plays beautifully against the sweet honey and tart lemon.
- Vegetarian/Vegan Option: Replace the chicken with 400g of firm tofu, pressed and cut into thick slices, or with large cauliflower steaks. Use vegetable stock instead of chicken stock and replace the butter with a vegan margarine or a splash of coconut cream for richness.
- Different Protein: This sauce works wonderfully with turkey breast steaks (adjust cooking time to 3-4 minutes per side), or with thick fillets of white fish like cod or haddock (reduce simmer time to 3-4 minutes total, as fish cooks faster).
What to Serve With Honey Lemon Chicken (Quick Skillet)
- Steamed jasmine rice or fluffy basmati rice to soak up the glossy sauce.
- Buttered green beans or a crisp rocket salad with a simple vinaigrette.
- Fluffy mashed potatoes or crusty bread for a more substantial meal.
- If you’re in the mood for another quick skillet dish, try my Ground Beef And Zucchini Skillet Low Carb for a different flavour profile.
Frequently Asked Questions
Honey Lemon Chicken (Quick Skillet)
Ingredients
Method
- Prepare the chicken: Pat the chicken thighs dry with kitchen paper. In a shallow bowl, mix the flour, salt, and pepper. Dredge each piece of chicken in the seasoned flour, shaking off any excess. The chicken should look lightly dusted, not caked.
- Brown the chicken: Heat the olive oil in a large frying pan over medium-high heat. When the oil shimmers and a fleck of flour sizzles instantly, add the chicken pieces in a single layer (work in batches if needed). Cook for 4-5 minutes per side, until the chicken is a deep golden-brown colour and the edges look crisp. The sound should be a steady, happy sizzle — not a frantic spit.
- Sizzle the garlic: Reduce the heat to medium. Push the chicken to one side of the pan, add the minced garlic to the empty space, and stir for about 30 seconds. The garlic will become fragrant and soften; take care not to let it turn dark brown, as that brings bitterness.
- Build the sauce: Pour the chicken stock into the pan, using a wooden spoon to scrape up any browned bits from the bottom — those bits are pure flavour. Stir in the honey, lemon juice, and lemon zest. The mixture will look thin and slightly cloudy at this stage.
- Simmer and thicken: Bring the sauce to a gentle bubble, then reduce the heat to low. Let it simmer for 5-6 minutes, turning the chicken once halfway through. The sauce will reduce and turn from watery to a glossy, syrupy consistency that coats the back of a spoon. You'll smell the honey caramelising and the lemon brightening the air.
- Finish with butter: Remove the pan from the heat. Add the butter and swirl the pan gently until it melts into the sauce, giving it a silky, polished sheen. Taste the sauce — if it needs more salt, add a pinch now.
- Rest and serve: Let the chicken rest in the pan for 2-3 minutes. This allows the juices to redistribute. Sprinkle with fresh parsley if using, and spoon the extra sauce over the top before serving.
Notes
I hope this Honey Lemon Chicken (Quick Skillet) becomes a regular in your weeknight rotation. My husband, who’s usually picky, asked for seconds the first time I made it, and it’s been a reliable favourite ever since. If you give it a try, I’d love to hear how it turned out — drop a comment below and let me know!