Loaded Beef Nachos
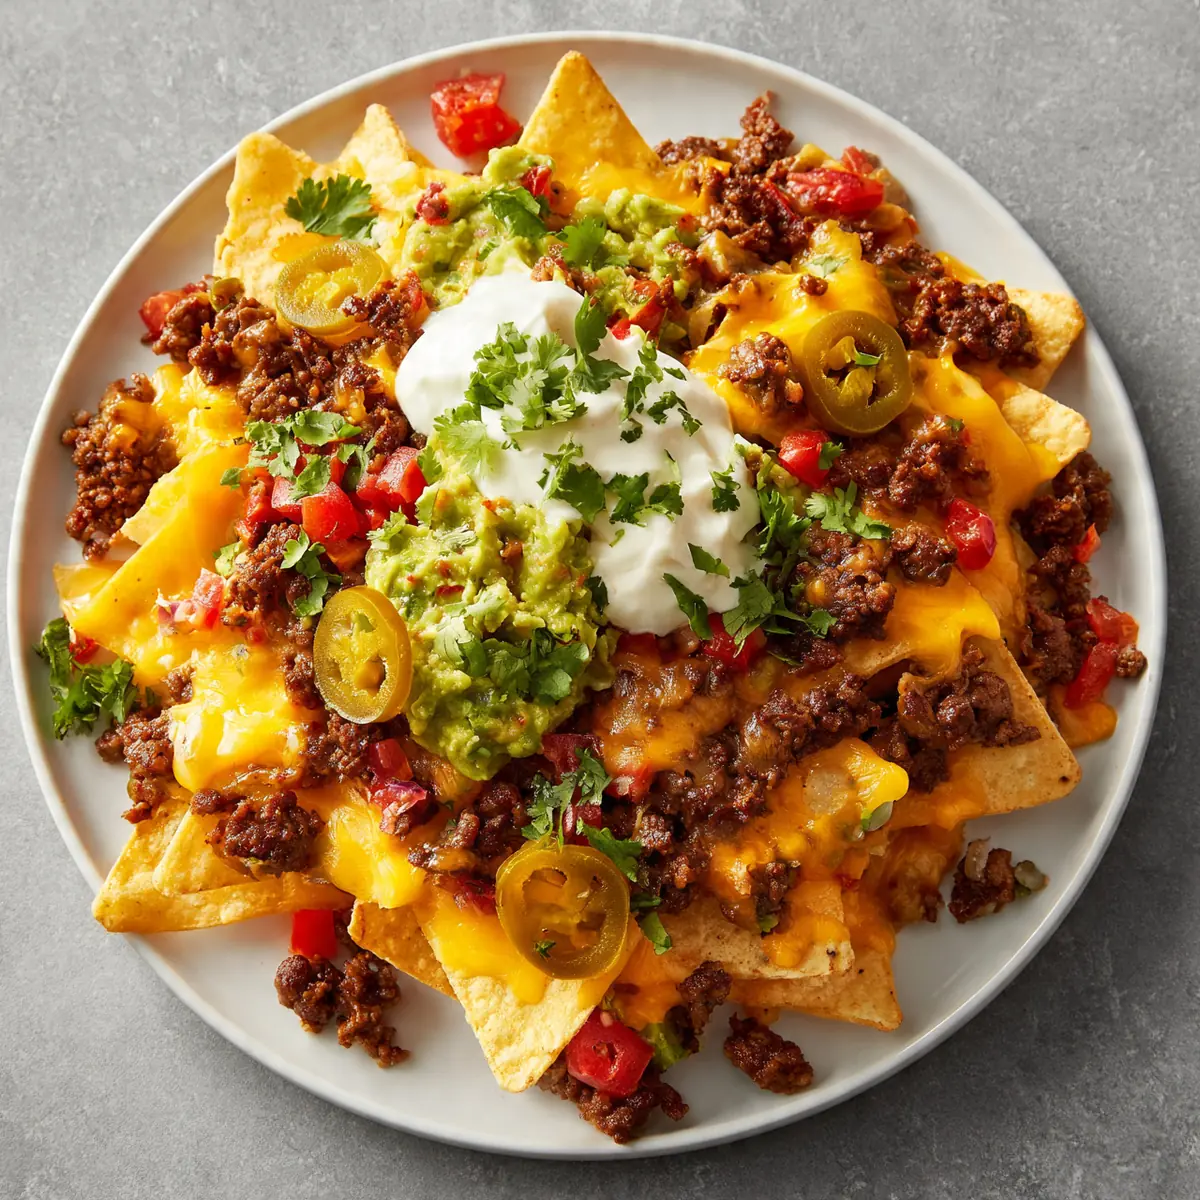
I still remember the first time I made Loaded Beef Nachos for a group of friends. The kitchen was a glorious mess of melted cheese, spiced beef, and crunchy tortilla chips, and everyone gathered around the tray, picking at the edges before I could even get it to the table. After testing this recipe five times, I finally got it just right—a balanced, satisfying dish that feels special but comes together without any fuss. This is the version I’ve been making for over 2 years, and it never disappoints.
Recipe Overview
- Prep Time: 20 minutes
- Cook Time: 25 minutes
- Total Time: 45 minutes
- Servings: 4-6 as a main, 8-10 as a starter
- Difficulty: Easy
Why You’ll Love This Loaded Beef Nachos
- Every bite is evenly loaded. No more digging for toppings—each chip gets a fair share of beef, cheese, and fresh garnishes.
- The beef is deeply seasoned. A blend of cumin, smoked paprika, and a touch of cinnamon gives the mince a rich, savoury warmth without being overpowering.
- It’s a complete meal on one tray. With protein, carbs, and vegetables (hello, jalapeños and tomatoes), you don’t need much else to call it dinner.
- Customisable for any gathering. Whether you’re feeding a crowd or just the family, this recipe scales up or down beautifully.
- It comes together in under an hour. From chopping the onions to pulling the golden, bubbly tray from the oven, you’ll have dinner ready before you know it.
Ingredients You’ll Need
- 500g beef mince (15-20% fat for best flavour)
- 1 tablespoon olive oil
- 1 large onion, finely diced
- 3 garlic cloves, minced
- 2 teaspoons ground cumin
- 2 teaspoons smoked paprika
- ½ teaspoon ground cinnamon
- 1 teaspoon dried oregano
- 400g can chopped tomatoes
- 2 tablespoons tomato purée
- 200ml beef stock
- Salt and freshly ground black pepper, to taste
- 250g tortilla chips (thick, restaurant-style work best)
- 300g grated mature cheddar cheese (or a mix of cheddar and Monterey Jack)
- 1-2 fresh jalapeños, sliced (optional)
- 150g sour cream, for serving
- 1 ripe avocado, diced
- 4 spring onions, sliced
- A handful of fresh coriander, roughly chopped
- Juice of 1 lime
Tip: Grate your own cheese from a block—pre-shredded varieties often contain anti-caking agents that stop the cheese from melting smoothly into that glorious, stretchy layer we’re after.
How to Make Loaded Beef Nachos
- Preheat your oven to 200°C (180°C fan) or 400°F. While it heats, place a large frying pan over medium-high heat and add the olive oil. When the oil shimmers and a small piece of onion sizzles immediately, you’re ready to begin.
- Cook the onion and garlic. Add the diced onion and cook for 4-5 minutes, stirring occasionally, until the pieces turn translucent and softened, and you can smell that sweet, savoury aroma. Add the minced garlic and cook for another minute, until fragrant—don’t let it brown too much, or it will turn bitter.
- Brown the beef mince thoroughly. Tip the mince into the pan and break it apart with a wooden spoon. Let it cook undisturbed for 2 minutes to develop a deep brown crust, then stir and repeat. The mince is ready when it’s no longer pink, and you hear a steady sizzle rather than a watery hiss. This should take about 6-8 minutes. Drain off any excess fat, leaving about a tablespoon in the pan for flavour.
- Build the sauce. Stir in the cumin, smoked paprika, cinnamon, and oregano. Cook for 30 seconds, stirring constantly, until the spices smell toasted and aromatic. Add the chopped tomatoes, tomato purée, and beef stock. Stir well, scraping up any browned bits from the bottom of the pan—those little dark flecks are pure flavour. Bring the mixture to a gentle simmer; you’ll see small bubbles breaking the surface. Reduce the heat to low and let it cook for 10-12 minutes, stirring occasionally, until the sauce thickens and turns a deep, rich reddish-brown. The texture should be thick enough to coat the back of a spoon but not dry.
- Season and rest the beef. Taste the beef mixture and add salt and pepper as needed. Remove the pan from the heat and let it sit for 5 minutes. This resting time allows the flavours to meld together and the meat to absorb the sauce fully.
- Assemble the nachos on a baking tray. Spread half the tortilla chips in a single, even layer on a large oven-proof tray or dish. Spoon half the beef mixture over the chips, making sure to distribute it evenly—don’t just pile it in the centre. Sprinkle with half the grated cheese. Repeat with the remaining chips, beef, and cheese. If using fresh jalapeño slices, tuck them in between the layers now.
- Bake until bubbly and golden. Place the tray in the preheated oven and bake for 10-12 minutes. You’ll know it’s done when the cheese is completely melted, bubbly, and starting to turn golden brown at the edges. The chips around the perimeter will be slightly darker and crisper, while the centre stays satisfyingly tender. Remove the tray from the oven and let it rest for 2-3 minutes—this keeps the layers from sliding apart when you serve.
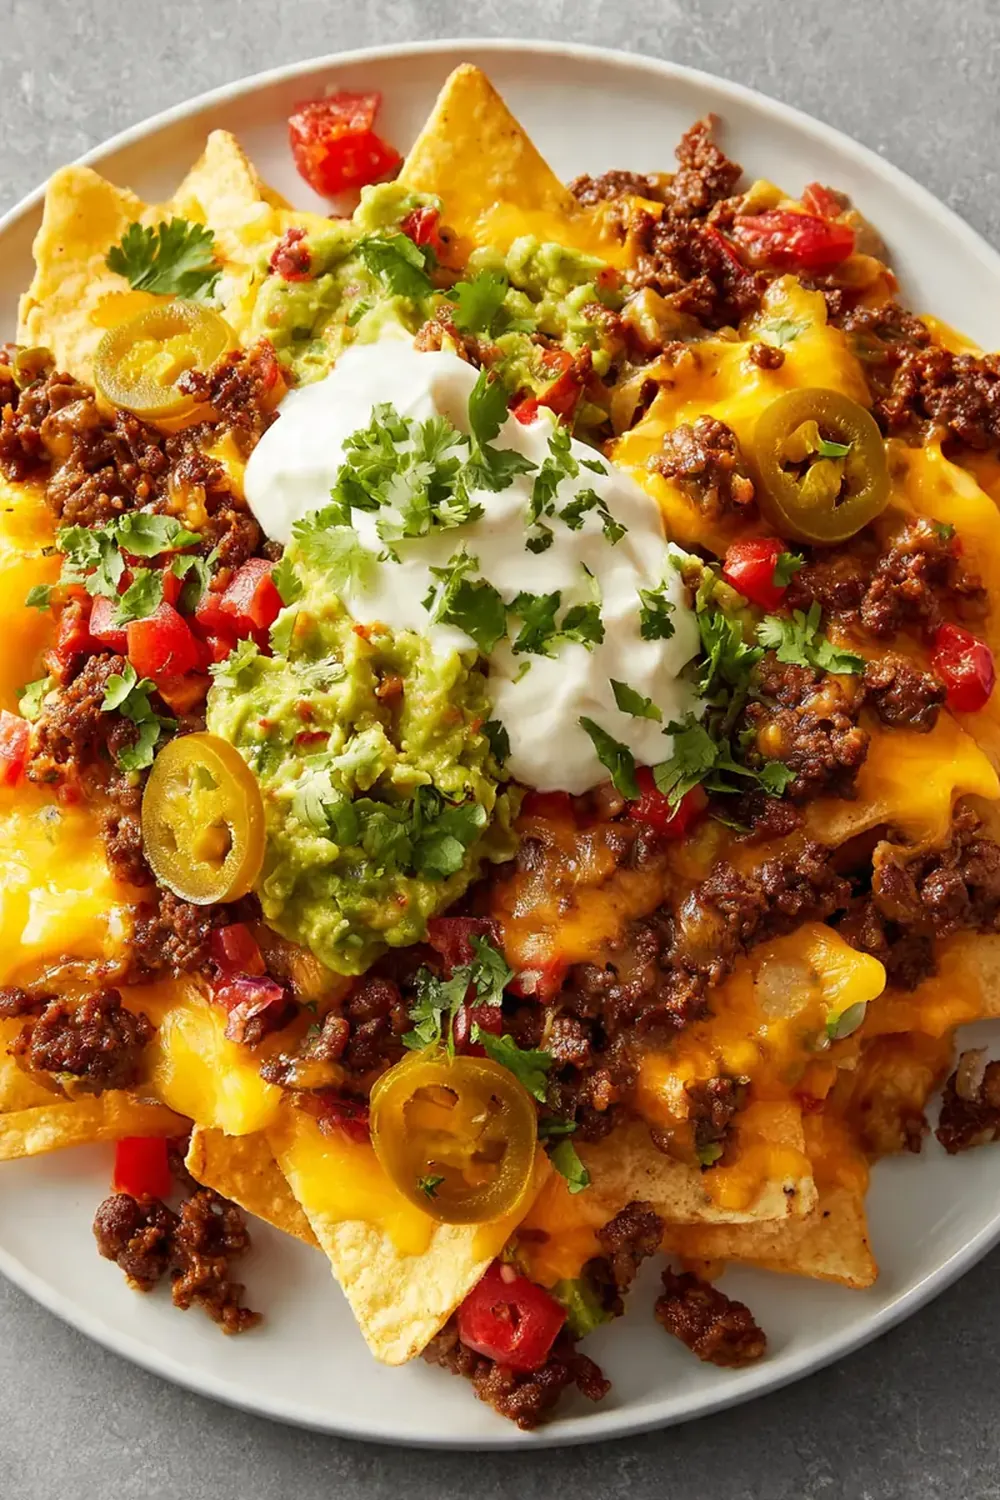
- Add fresh toppings and serve. Dollop spoonfuls of sour cream over the hot nachos, scatter the diced avocado, spring onions, and fresh coriander, and finish with a generous squeeze of lime juice. Serve immediately straight from the tray, with extra lime wedges on the side.
Tips From My Kitchen
- Use a good-quality tortilla chip. Thick, sturdy chips (often labelled “restaurant-style” or “extra thick”) are essential. Thin chips will break under the weight of the toppings and turn soggy in the oven. I’ve found that brands with a bit of corn flavour and a satisfying crunch hold up best.
- Don’t skip browning the mince properly. This is where most of the flavour comes from. If you crowd the pan or stir constantly, the meat will steam instead of brown. Let it sit for a minute or two between stirring to develop that deep, savoury crust—it’s called the Maillard reaction, and it’s what gives the beef its rich, almost caramelised taste.
- Season in layers. Season the beef mixture generously, but remember that the cheese and chips also contain salt. I taste the beef at the end of step 4 and add salt only if needed. A light hand with salt at the beginning, and a final adjustment, gives you a balanced dish without any bite being overly salty.
- Grate your own cheese. Pre-shredded cheese is coated in potato starch or cellulose to stop it clumping, which also stops it from melting into a smooth, cohesive layer. A block of mature cheddar grated just before use melts into a glossy, stretchy blanket that clings to every chip beautifully.
- Let the assembled nachos rest before baking. Once you’ve layered the chips, beef, and cheese, let the tray sit at room temperature for 5-10 minutes before it goes into the oven. This allows the cheese to soften slightly and the layers to settle, so you get a more even melt and less sliding when you cut into it.
- Serve immediately, but with patience. The window of perfect nacho texture is about 5-10 minutes out of the oven. After that, the chips start to soften. But if you let the tray rest for 2 minutes after baking, the layers hold together better when you scoop. It’s a fine balance—serve hot, but not so hot that the toppings slide off.
Common Mistakes to Avoid
- Overcrowding the pan when browning the mince: If you add too much meat to the pan at once, it releases water and steams rather than browns. Cook the mince in a single layer, and if your pan is small, do it in two batches. You’ll get a deeper, richer flavour from properly browned meat.
- Wrong temperature for baking: Baking at too low a temperature (below 180°C) will melt the cheese slowly and make the chips soggy before the cheese is fully melted. Too high (above 220°C) and the cheese will burn before the centre is hot. Stick to 200°C (180°C fan) for that perfect golden, bubbly finish.
- Skipping the rest time after baking: It’s tempting to dig in immediately, but letting the nachos rest for 2-3 minutes allows the cheese to set slightly. Without this brief rest, the layers can slide apart, and you’ll end up with a messy pile of chips and toppings rather than neat, cohesive bites.
Delicious Variations to Try
- Spicy Version: For those who love heat, add 1-2 finely chopped chipotle peppers in adobo sauce to the beef mixture along with the tomatoes. You can also sprinkle a pinch of cayenne pepper with the other spices. The smoky heat pairs beautifully with the cumin and smoked paprika.
- Vegetarian/Vegan Option: Replace the beef mince with 400g of cooked black beans or lentils (or a mix of both). Sauté the onions and garlic, then add the beans along with the spices and tomatoes. Use a plant-based cheese that melts well, or a generous dollop of cashew cream on top. The texture is hearty and satisfying, and the beans soak up the spiced sauce beautifully.
- Different Protein: Swap the beef mince for shredded cooked chicken or turkey. Simply stir the shredded meat into the spiced tomato sauce and let it heat through for 5 minutes before layering. For a lighter option, try a mix of minced chicken and finely chopped mushrooms—the mushrooms add moisture and an earthy depth that complements the spices.
What to Serve With Loaded Beef Nachos
- A simple side salad of crisp romaine lettuce, cherry tomatoes, and a zesty lime vinaigrette to cut through the richness.
- A bowl of Creamy Lemon Chicken Orzo Soup on the side for a more substantial meal—the bright, tangy broth balances the smoky, cheesy nachos perfectly.
- Extra toppings like pickled red onions, sliced radishes, or a spoonful of fresh salsa verde for guests to customise their own plates.
Frequently Asked Questions
Loaded Beef Nachos
Ingredients
Method
- Preheat your oven to 200°C (180°C fan) or 400°F. While it heats, place a large frying pan over medium-high heat and add the olive oil. When the oil shimmers and a small piece of onion sizzles immediately, you're ready to begin.
- Cook the onion and garlic. Add the diced onion and cook for 4-5 minutes, stirring occasionally, until the pieces turn translucent and softened, and you can smell that sweet, savoury aroma. Add the minced garlic and cook for another minute, until fragrant—don't let it brown too much, or it will turn bitter.
- Brown the beef mince thoroughly. Tip the mince into the pan and break it apart with a wooden spoon. Let it cook undisturbed for 2 minutes to develop a deep brown crust, then stir and repeat. The mince is ready when it's no longer pink, and you hear a steady sizzle rather than a watery hiss. This should take about 6-8 minutes. Drain off any excess fat, leaving about a tablespoon in the pan for flavour.
- Build the sauce. Stir in the cumin, smoked paprika, cinnamon, and oregano. Cook for 30 seconds, stirring constantly, until the spices smell toasted and aromatic. Add the chopped tomatoes, tomato purée, and beef stock. Stir well, scraping up any browned bits from the bottom of the pan—those little dark flecks are pure flavour. Bring the mixture to a gentle simmer; you'll see small bubbles breaking the surface. Reduce the heat to low and let it cook for 10-12 minutes, stirring occasionally, until the sauce thickens and turns a deep, rich reddish-brown. The texture should be thick enough to coat the back of a spoon but not dry.
- Season and rest the beef. Taste the beef mixture and add salt and pepper as needed. Remove the pan from the heat and let it sit for 5 minutes. This resting time allows the flavours to meld together and the meat to absorb the sauce fully.
- Assemble the nachos on a baking tray. Spread half the tortilla chips in a single, even layer on a large oven-proof tray or dish. Spoon half the beef mixture over the chips, making sure to distribute it evenly—don't just pile it in the centre. Sprinkle with half the grated cheese. Repeat with the remaining chips, beef, and cheese. If using fresh jalapeño slices, tuck them in between the layers now.
- Bake until bubbly and golden. Place the tray in the preheated oven and bake for 10-12 minutes. You'll know it's done when the cheese is completely melted, bubbly, and starting to turn golden brown at the edges. The chips around the perimeter will be slightly darker and crisper, while the centre stays satisfyingly tender. Remove the tray from the oven and let it rest for 2-3 minutes—this keeps the layers from sliding apart when you serve.
- Add fresh toppings and serve. Dollop spoonfuls of sour cream over the hot nachos, scatter the diced avocado, spring onions, and fresh coriander, and finish with a generous squeeze of lime juice. Serve immediately straight from the tray, with extra lime wedges on the side.
Notes
I’d love to hear how your Loaded Beef Nachos turn out. Leave a comment below with your favourite toppings or any tweaks you made—it’s always a joy to see how this recipe finds its way into different kitchens. If you’re looking for another crowd-friendly meal that comes together quickly, try the Air Fryer Fish Fillets Crispy Healthy for a lighter option that still delivers on crunch and flavour. Happy cooking!