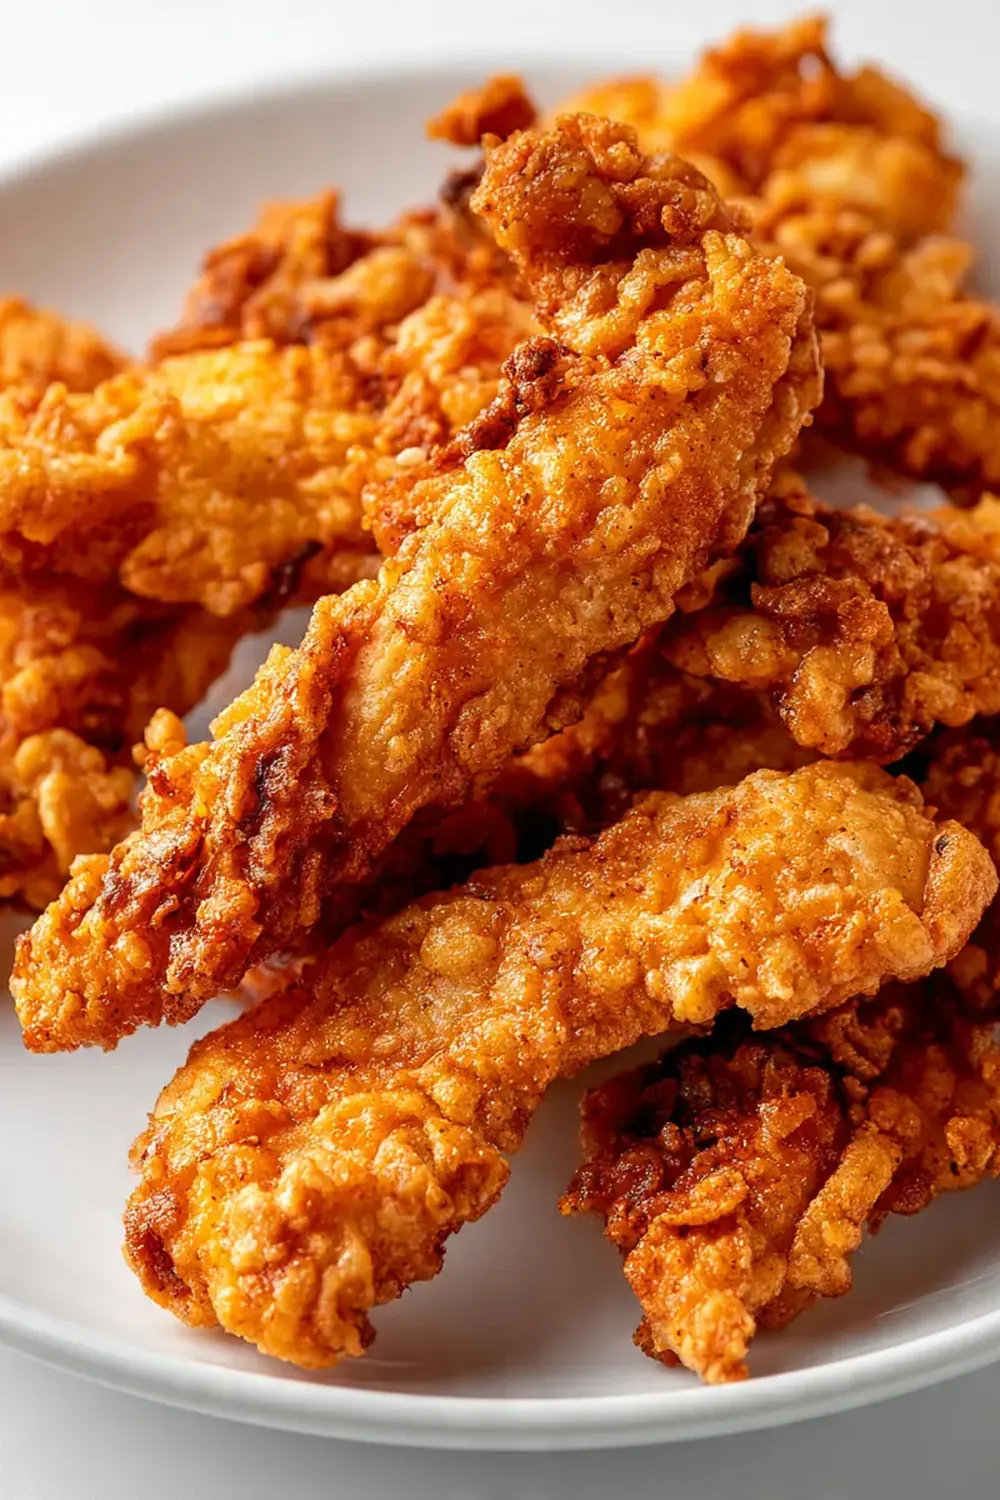
Crispy Buttermilk Fried Chicken Strips
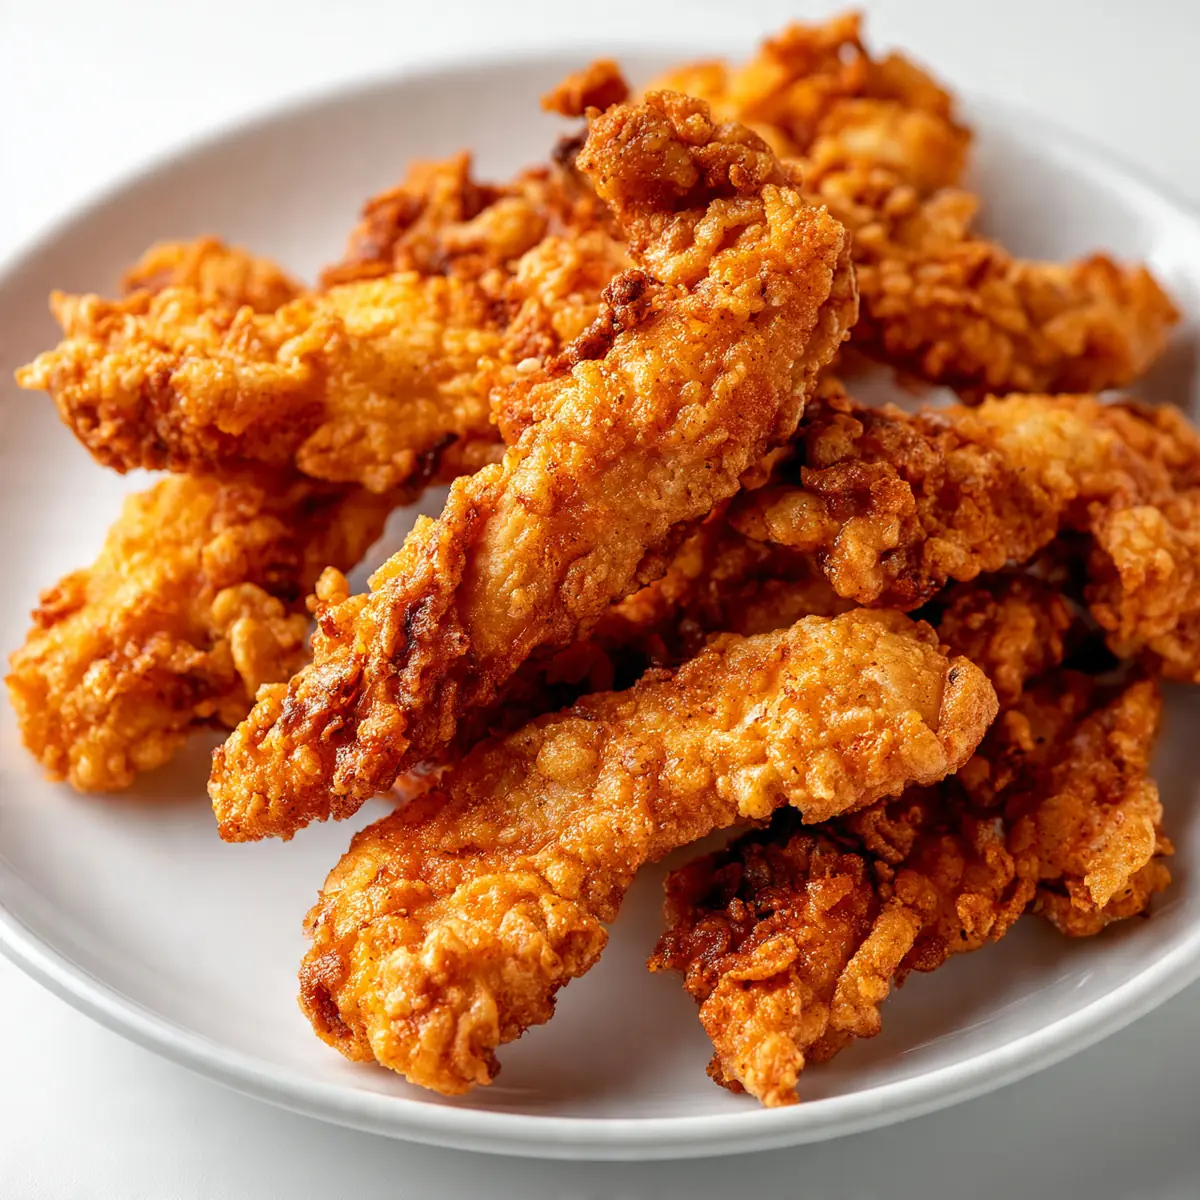
There’s something deeply satisfying about the crackle of a perfectly fried chicken strip, its golden crust shattering to reveal tender, juicy meat within. This recipe for crispy buttermilk fried chicken strips has been a staple in my kitchen for years, born from a desire for that classic diner taste without the fuss of deep-frying a whole bird. We’ll achieve that signature crunch and tangy tenderness right in your own frying pan.
Recipe Overview
- Prep Time: 20 minutes (plus 2 hours marinating)
- Cook Time: 20 minutes
- Total Time: 2 hours 40 minutes
- Servings: 4
- Difficulty: Medium
Why You’ll Love This Crispy Buttermilk Fried Chicken Strips
- Unbeatable crunch: The double-dredge method creates a shatteringly crisp coating that stays crunchy even after cooling slightly.
- Deeply tender meat: The buttermilk marinade works its magic, breaking down proteins for chicken that’s impossibly moist and tender from the very first bite.
- Foolproof for home cooks: This method uses a standard frying pan and a manageable amount of oil, making it less intimidating than deep-frying a whole chicken.
- Customisable heat: You can easily dial the spice up or down in the flour mixture, making it suitable for everyone at the table.
- Perfect for any occasion: Whether it’s a weeknight dinner that feels special or a casual gathering, these strips are always a welcome sight. My husband, who’s usually picky, asked for seconds the first time I made them!
Ingredients You’ll Need
- 500g chicken breast fillets, cut into 2.5cm wide strips
- 250ml buttermilk
- 1 large egg
- 1 teaspoon salt
- ½ teaspoon black pepper
- 1 teaspoon smoked paprika
- ½ teaspoon garlic powder
- ½ teaspoon onion powder
- ¼ teaspoon cayenne pepper (optional, for heat)
- 150g plain flour
- 50g cornflour
- 750ml vegetable or sunflower oil, for frying
Tip: For the flakiest, crispiest crust, ensure your cornflour is fresh. Stale cornflour can absorb moisture and lead to a softer coating.
How to Make Crispy Buttermilk Fried Chicken Strips
- Marinate the chicken: In a large bowl, whisk together the buttermilk, egg, salt, and pepper. Add the chicken strips, ensuring they are fully submerged. Cover the bowl with cling film and refrigerate for at least 2 hours, or up to 8 hours. The chicken will look pale and feel slightly firmer after marinating.
- Prepare the dredge: In a separate, shallow dish, combine the plain flour, cornflour, smoked paprika, garlic powder, onion powder, and cayenne pepper if using. Whisk thoroughly until the spices are evenly distributed; the mixture will be a warm, speckled beige colour.
- Dredge the chicken: Remove a chicken strip from the buttermilk, letting the excess drip back into the bowl. Place it into the flour mixture, pressing down firmly to coat all sides. Shake off any excess flour and set the strip on a clean plate. Repeat with all strips. You’ll hear a faint rustling sound as the flour clings to the wet chicken.
- Heat the oil: Pour the oil into a large, heavy-bottomed frying pan or skillet. The oil should be about 2cm deep. Heat over a medium-high flame until it reaches 175°C (350°F). If you don’t have a thermometer, drop a small cube of bread into the oil; it should sizzle and turn golden brown in about 60 seconds.
- Fry in batches: Carefully place 4-5 chicken strips into the hot oil, ensuring not to overcrowd the pan. Fry for 4-5 minutes per side. The chicken will hiss and bubble vigorously. Turn once using tongs. The coating will turn a deep, rich golden brown and the chicken will feel firm to the touch when cooked through. The internal temperature should reach 74°C (165°F).
- Drain and rest: Using a slotted spoon or tongs, transfer the cooked strips to a wire rack set over a baking tray. This allows air to circulate, keeping the crust crisp. Do not drain on paper towels, as the steam will soften the coating. Let them rest for 2-3 minutes before serving.
Tips From My Kitchen
- Don’t skip the buttermilk soak: The acidity in buttermilk is key. It gently tenderises the chicken, ensuring it stays moist during frying. A shorter marinade will still work, but for the most tender results, give it the full 2 hours. The lactic acid also helps the seasoned flour adhere better, creating a thicker, crunchier crust.
- Let the dredged chicken rest: After coating the strips in flour, let them sit on the plate for 10-15 minutes before frying. This allows the flour to hydrate slightly and form a glue-like layer that clings firmly to the chicken. You’ll see the flour turn from a dry, dusty look to a slightly matte, cohesive coating. This step is the secret to preventing the coating from falling off during frying.
- Maintain the oil temperature: This is the most important rule for crispy chicken. If the oil is too cool, the strips will absorb oil and become greasy. If it’s too hot, the outside will burn before the inside cooks through. Use a kitchen thermometer for precision. Between batches, let the oil come back to 175°C (350°F) before adding the next batch.
- Use your hands for dredging: Keep one hand for the wet buttermilk chicken and one hand for the dry flour mixture. This prevents your fingers from becoming coated in a thick paste, which can lead to uneven clumps of flour on the chicken and a less uniform crust.
- Season the flour generously: The buttermilk marinade seasons the meat, but the flour is where the flavour of the crust lives. Don’t be shy with the paprika, garlic, and onion powders. Taste a tiny pinch of the raw flour mixture to ensure it’s well-seasoned before you start.
Equipment You’ll Need
- Large frying pan or skillet (preferably cast iron or heavy-bottomed)
- Sharp knife and cutting board
- Large mixing bowl for marinating
- Shallow dish or pie plate for the flour mixture
- Wooden spoon or spatula
- Kitchen tongs
- Wire rack and baking tray
- Kitchen thermometer (highly recommended)
Delicious Variations to Try
- Spicy Version: For a fiery kick, add 1-2 teaspoons of your favourite chilli powder or a teaspoon of cayenne pepper to the flour mixture. You can also add a few dashes of hot sauce to the buttermilk marinade for heat that penetrates the meat.
- Vegetarian/Vegan Option: Substitute the chicken with thick slices of firm tofu or large oyster mushrooms. Press the tofu well to remove excess water, then follow the same marinade and dredging process. The frying time will be slightly shorter, about 3-4 minutes per side, until the coating is golden and the tofu is heated through.
- Different Protein: This method works beautifully with other proteins. Try boneless, skinless chicken thighs for a richer flavour, or use it for turkey breast strips. Even firm white fish fillets, like cod or haddock, cut into strips, make a fantastic variation—just reduce the frying time to 2-3 minutes per side.
What to Serve With Crispy Buttermilk Fried Chicken Strips
- A simple, crisp coleslaw with a tangy vinaigrette to cut through the richness.
- Homemade chips or wedges, seasoned with salt and a pinch of rosemary.
- Fluffy cornbread or warm, buttered brioche buns for making sandwiches.
- A dipping sauce like honey mustard, ranch, or a spicy sriracha mayo.
- A fresh green salad with a lemon-herb dressing for a lighter side.
Frequently Asked Questions
Crispy Buttermilk Fried Chicken Strips
Ingredients
Method
- Marinate the chicken: In a large bowl, whisk together the buttermilk, egg, salt, and pepper. Add the chicken strips, ensuring they are fully submerged. Cover the bowl with cling film and refrigerate for at least 2 hours, or up to 8 hours. The chicken will look pale and feel slightly firmer after marinating.
- Prepare the dredge: In a separate, shallow dish, combine the plain flour, cornflour, smoked paprika, garlic powder, onion powder, and cayenne pepper if using. Whisk thoroughly until the spices are evenly distributed; the mixture will be a warm, speckled beige colour.
- Dredge the chicken: Remove a chicken strip from the buttermilk, letting the excess drip back into the bowl. Place it into the flour mixture, pressing down firmly to coat all sides. Shake off any excess flour and set the strip on a clean plate. Repeat with all strips. You'll hear a faint rustling sound as the flour clings to the wet chicken.
- Heat the oil: Pour the oil into a large, heavy-bottomed frying pan or skillet. The oil should be about 2cm deep. Heat over a medium-high flame until it reaches 175°C (350°F). If you don't have a thermometer, drop a small cube of bread into the oil; it should sizzle and turn golden brown in about 60 seconds.
- Fry in batches: Carefully place 4-5 chicken strips into the hot oil, ensuring not to overcrowd the pan. Fry for 4-5 minutes per side. The chicken will hiss and bubble vigorously. Turn once using tongs. The coating will turn a deep, rich golden brown and the chicken will feel firm to the touch when cooked through. The internal temperature should reach 74°C (165°F).
- Drain and rest: Using a slotted spoon or tongs, transfer the cooked strips to a wire rack set over a baking tray. This allows air to circulate, keeping the crust crisp. Do not drain on paper towels, as the steam will soften the coating. Let them rest for 2-3 minutes before serving.
Notes
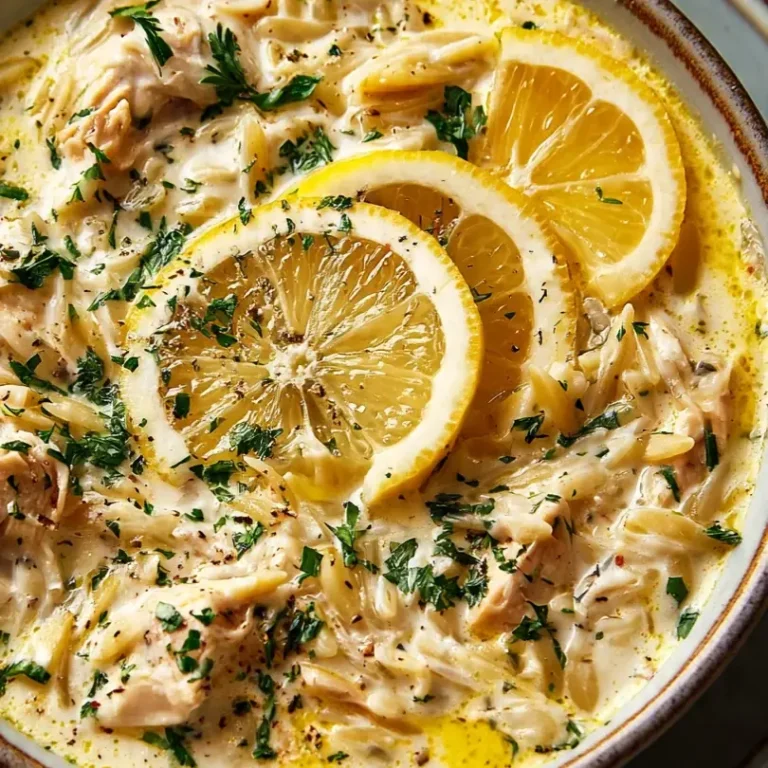
I hope you give this recipe a try and experience that wonderful moment when you bite into a perfectly crisp, tender strip. It’s the kind of meal that turns a regular Tuesday into something to look forward to. For another satisfying meal that’s perfect for a busy week, you might enjoy our Healthy Baked Chicken Shawarma Wraps or a warming bowl of Creamy Lemon Chicken Orzo Soup. If you have any questions or your own tips for the perfect fried chicken, please leave a comment below—I’d love to hear from you!